Warning: Deprecated articles
You are using the old version of the knowledge base for yunIO.
Make sure to use the samples within the new HelpCenter for yunIO.
The following article shows how to integrate a yunIO service with Microsoft Power Automate.
Power Automate is a cloud-based process automation service provided by Microsoft. The platform can be used to create automated workflows between different cloud apps and services that synchronize and collect data, get notifications, start approvals, and more. For more Information on Power Automate see Microsoft Power Automate Documentation.
Creating a Service in yunIO #
- Create a service in yunIO. For this example we use the BAPI SD_RFC_CUSTOMER_GET to search and extract customer data from SAP.
The service has the following settings:
- Set the Import Parameter NAME1 to Supplied by Caller.
- Select all fields in the Table CUSTOMER_T for the output.
- Click
 to testrun the service in yunIO (1). For more information, see Online Help: Testing a Service.
 - Click
 to download the service definition (2).

Configuring a yunIO Custom Connector in Power Automate #
Note: When integrating services from a local yunIO installation with a cloud hosted platform like Power Automate, a gateway to tunnel the connection is recommended, e.g., the Microsoft On-premises data gateway. For more information about yunIO networking settings, see yunIO Networking Scenarios.
- Open the section Data > Custom Connectors in Power Automate and click on + New custom connector.
- Click on Import an OpenAPI file and give the connector a name of your choice. Select the service definition from Prerequisites in yunIO from your harddrive and click Continue.
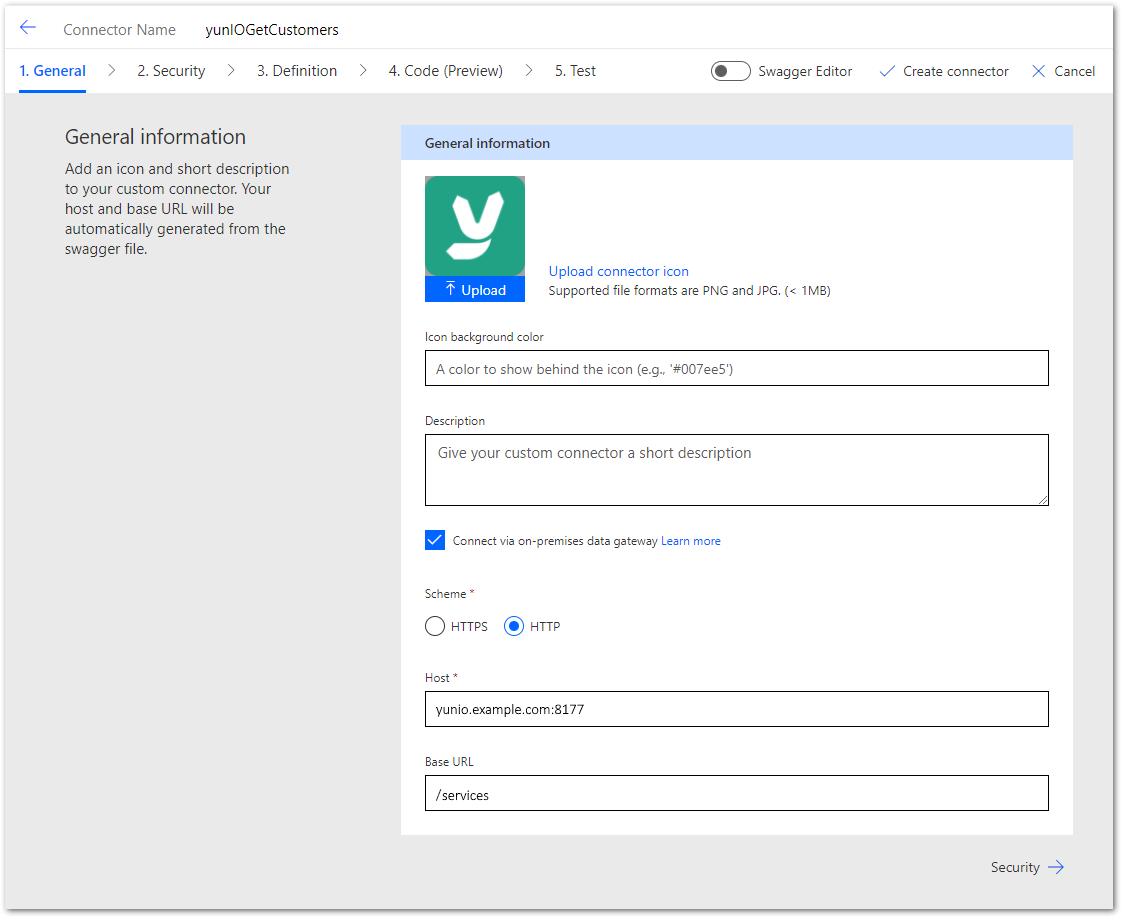
- In the General tab you can define general information for the custom connector.
- With Upload you can upload a connector icon of your choice. Defining an alternative icon background color or a service description is optional.
- If you use an on-premises data gateway, activate the checkbox Connect via on-premises gateway.
- Scheme: With TLS enabled in the yunIO server settings, the HTTPS scheme is pre-selected. In this example TLS is disabled, so the HTTP scheme is set.
- Under Host the host address for the yunIO service consumption with its respective port is preset. For local installations the host address is
localhost:[port]. - The Base URL represents extensions of the REST service URL that is triggered by the custom connector.
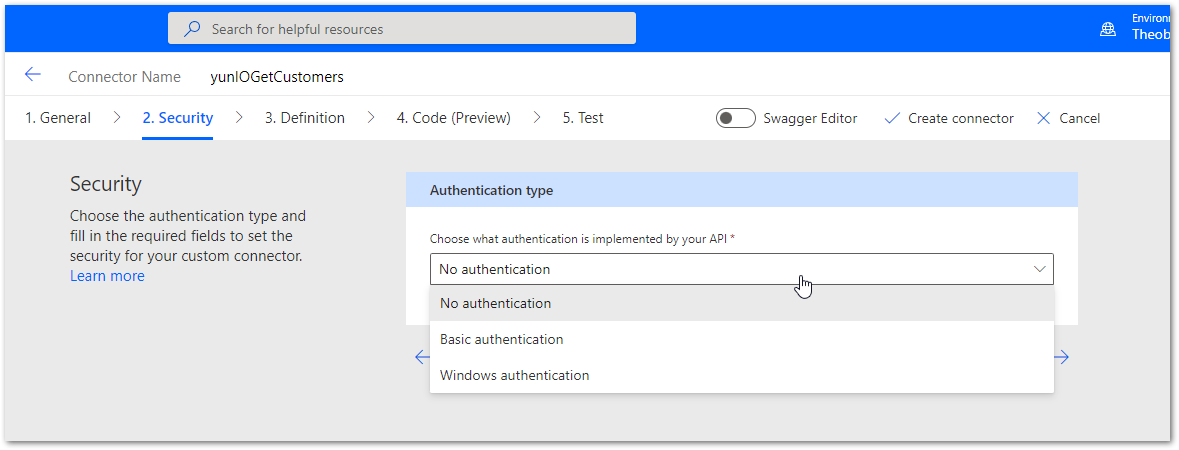
- In the Security tab you can select the authentication type for service consumption.
- No authentication is pre-set. This means that there is no authentication required by users calling the connector.
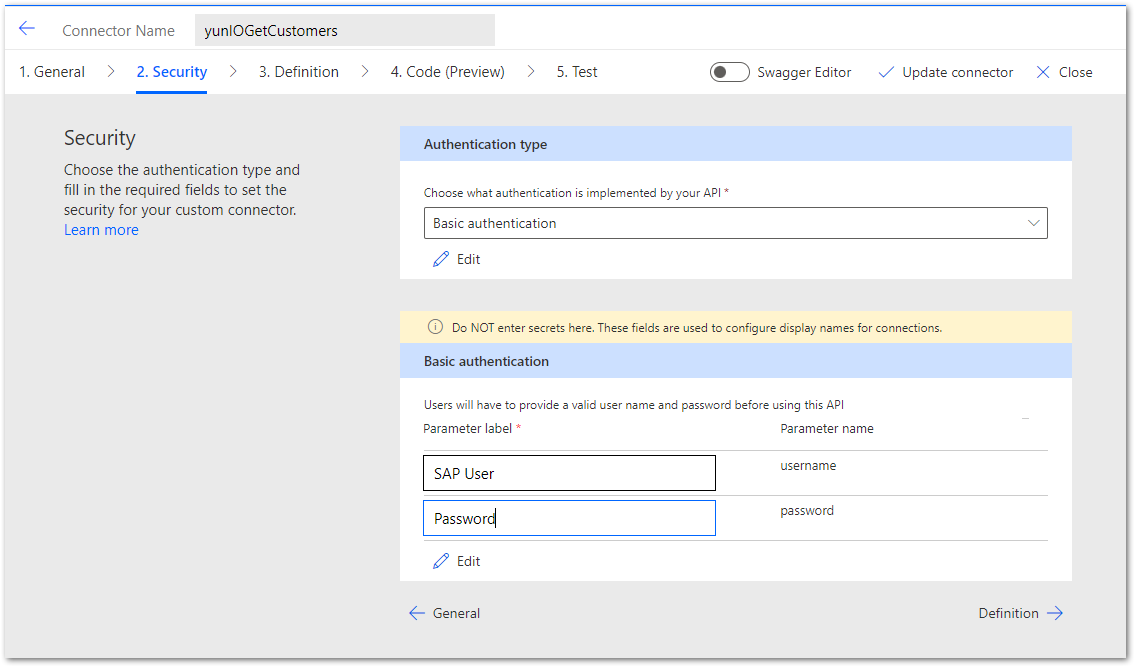
- If Request credentials from callers when running services is enabled in the yunIO connection settings, you can also select Basic authentication. This means that the SAP user name and password used for the SAP connection, must be stored in the Connection Settings defined in the Test tab.
- The depicted example uses Basic authentication and labels the parameters SAP User and Password
- No authentication is pre-set. This means that there is no authentication required by users calling the connector.
- The Definition tab gives an overview about the yunIO service definition. No changes necessary. This also applies to the Code (Preview) tab.
Note: Before the service can be tested in the Test tab, the custom connector must be published with Create connector.
Testing the Service #
- Navigate to the Test tab of the custom connector.
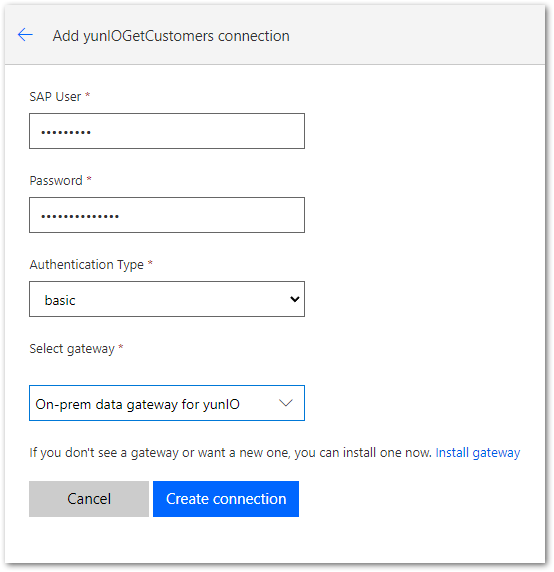
- Create a connection with + New connection.
- Enter the credentials of the SAP user you have defined in the yunIO connection settings. If you select to connect via an on-premises gateway in the General tab, select your gateway instance.
- Confirm the settings with Create connection.
- Enter valid import values for the parameters you defined as Supplied by caller in the yunIO service settings (1).
- Click Test operation (2).
- Check the SAP response displayed in the request body of the custom connector (3).
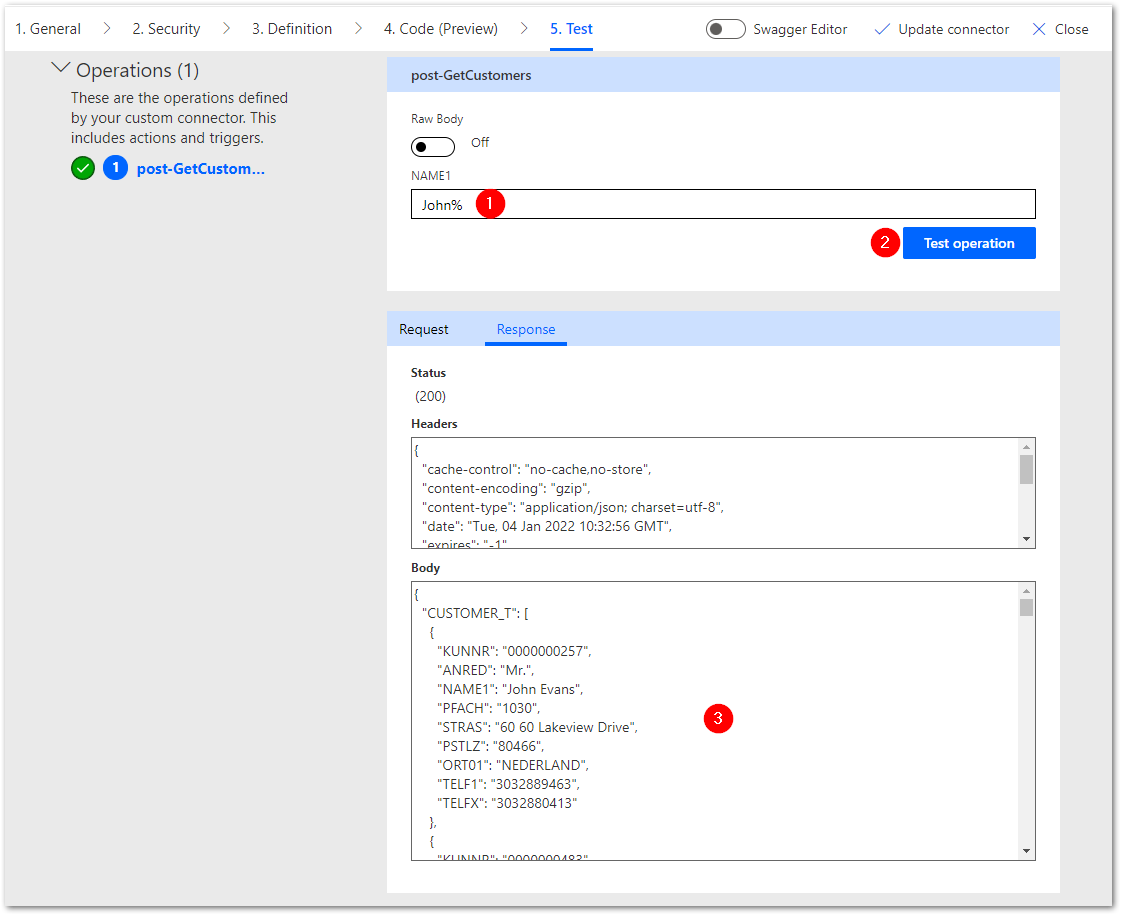
Tip: For services calling Function Modules or BAPIs that use tables or structured input information, switch Raw Body off to get a better structured input screen.
Using the Service in a Power Automate Flow #
After a connector is successfully tested, it can be used in a Flow.
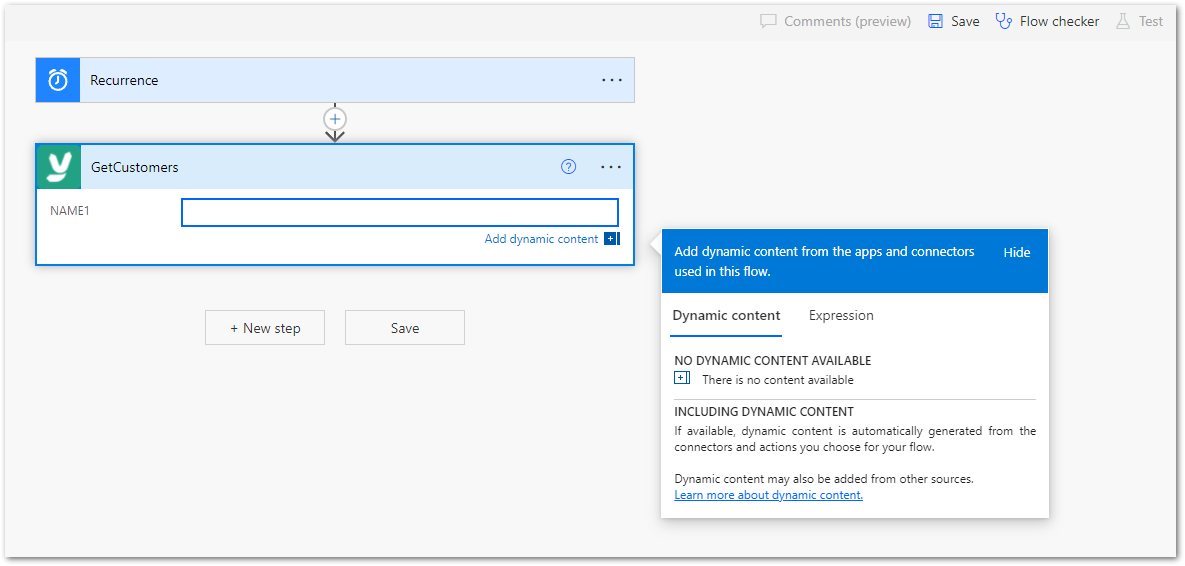
- Add a new action to the Flow and search for the name of the custom connector.
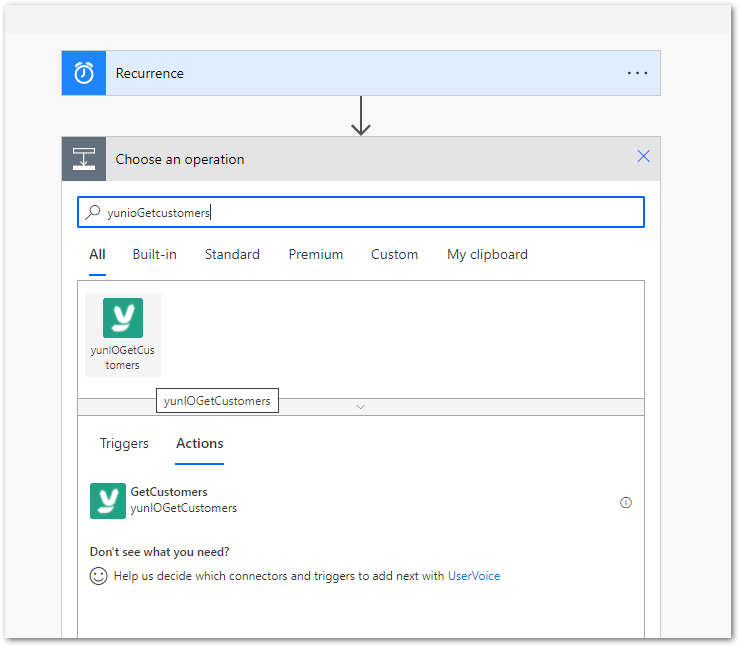
- Enter values in the input fields of the custom connector.