The following article describes a scenario that uses Azure Data Factory (ADF) to trigger and automate SAP data movements using Xtract Universal’s command line tool.
This article targets customers that utilize ADF as a platform for orchestrating data movement and transformation.
Note: The depicted scenario is no best practice or recommendation. The following is a suggestion of how an orchestration of Xtract Universal extractions from ADF can look like, see also Integration in Azure Data Factory using Webservices.
Prerequisites #
- Xtract Universal is installed on a cloud VM and is accessible remotely over http(s).
- The extraction uses a push-destination, e.g., Azure Blob Storage or Azure SQL Server.
- The extraction runs successfully when called from a remote machine via commandline, see Execute and Automate - Call via Commandline. This ensures that the XU server is reachable.
- Access to the Azure portal and Azure Data Factory.
- Knowledge on how to build ADF pipelines.
Configure an Azure Batch Account #
When creating a batch account in the Azure portal, make sure to consider the following:
- A Storage account needs to be associated with your Batch account. This can a be new storage account dedicated to batch processing, or an existing storage account. Microsoft recommends a general-purpose v2 storage account in the same region as your Batch account (for better performance).
- The Pool allocation mode under Advanced can be the default Batch service (no need to select User subscription).
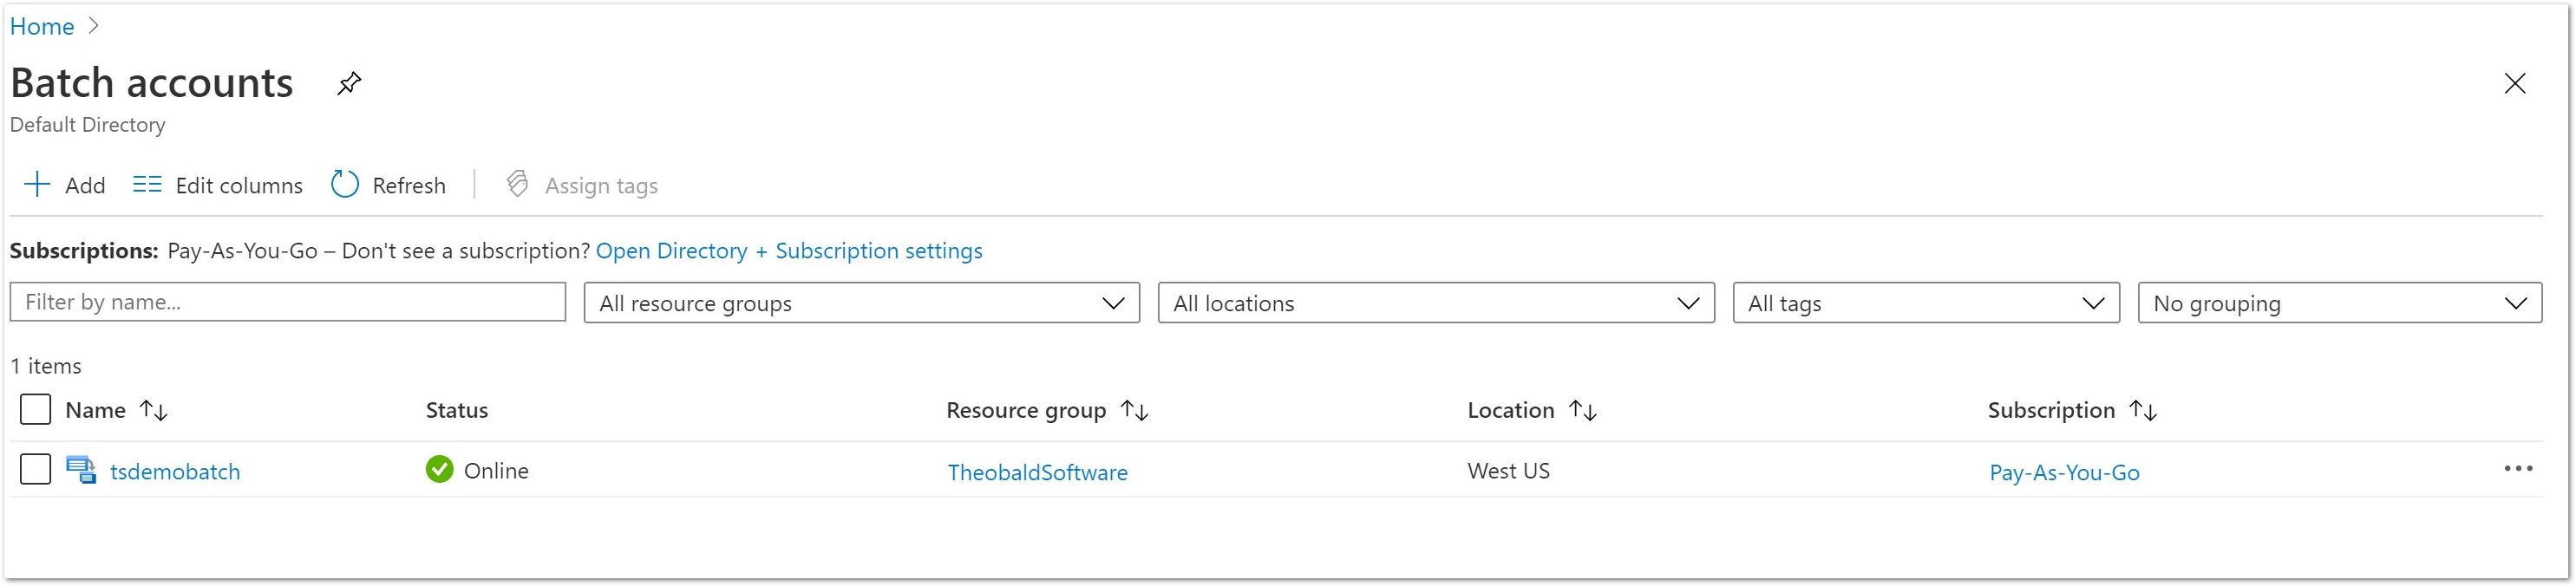
For information on how to configure a batch account in the Azure portal, see Microsoft Documentation: Create a Batch account in the Azure portal.
Add a Pool to the Azure Batch Account #
The pool provides the computing resources (VM) to execute a task, in this case running the commandline tool xu.exe. When creating a pool from a managed image in the Azure portal, make sure to consider the following:
- The commandline tool xu.exe is not a very resource-intensive application, but if Azure Batch is used for other processing, choose an appropriately sized resource for your needs.
Note that there is an Azure cost associated with the selected Pool.
The depicted example uses a Window Server 2019 Datacenter with small disk configuration.
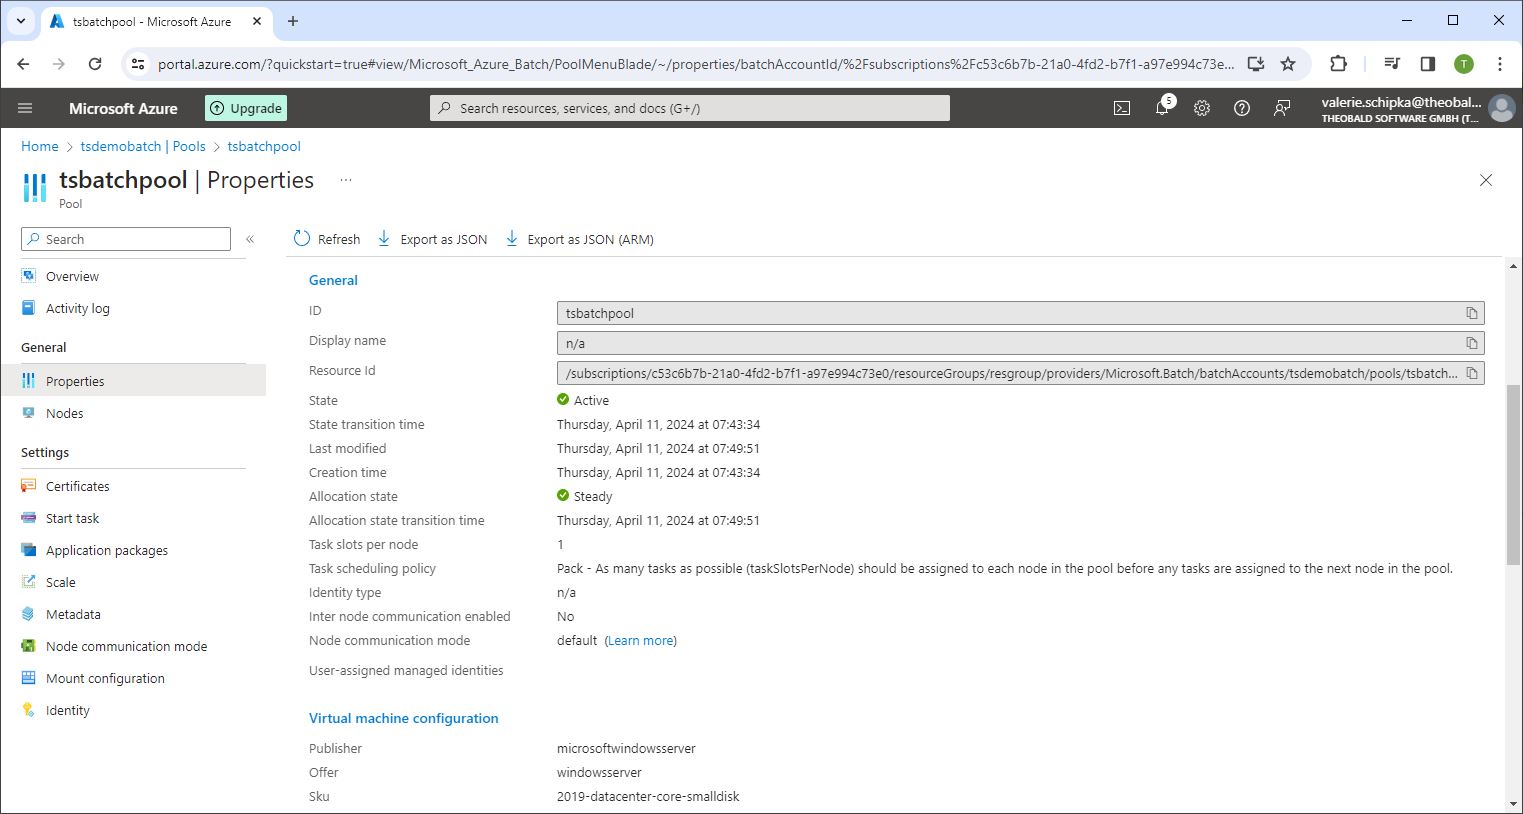
- When creating the pool, set the Scale property Target dedicated nodes to at least 1.
For information on how to create a pool, see Microsoft Documentation: Use a managed image to create a custom image pool.
Upload xu.exe to Storage Account #
Follow the steps below to make the command line tool xu.exe available in Azure:
- Create a container for the Xtract Universal commandline tool in the Azure storage account associated with the Azure Batch account.
In the depicted example, the container is named ‘xuexe’.
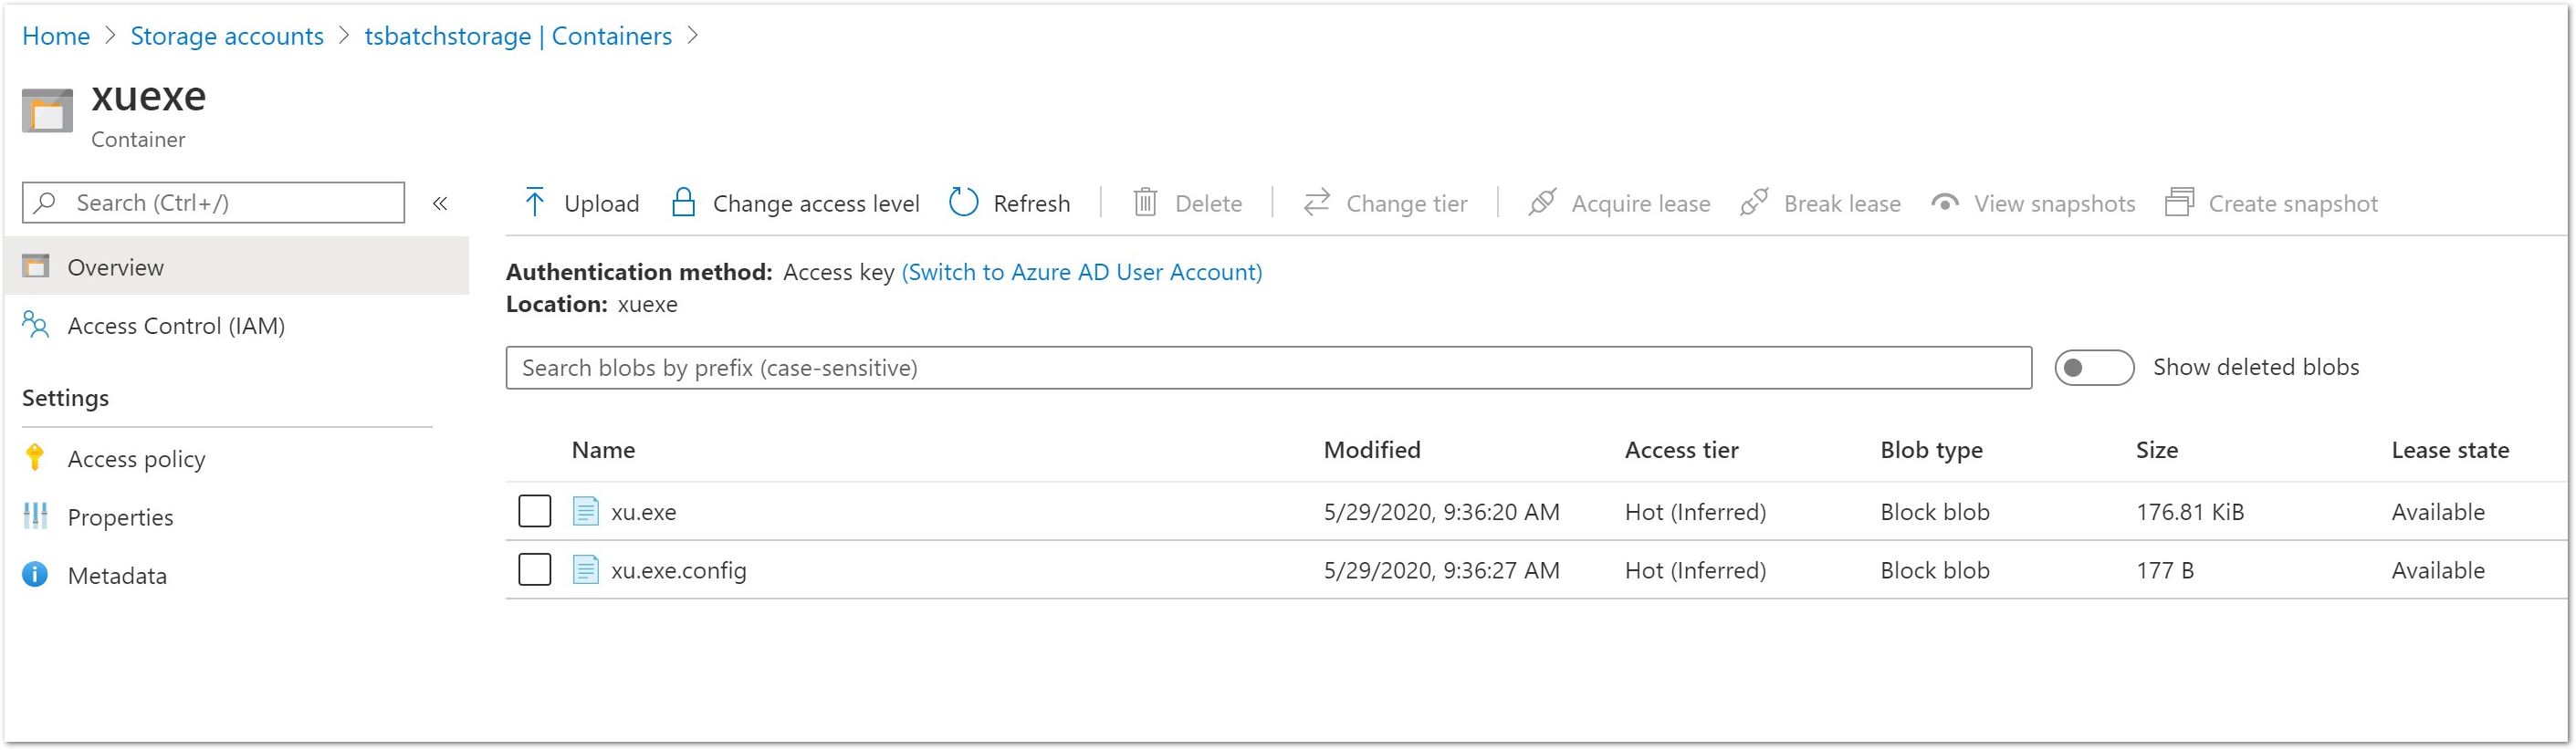
- Upload the files xu.exe and xu.exe.config from the Xtract Universal server installation to the Azure storage account. The files are located in
C:\Program Files\XtractUniversal.
Note: Do not confuse the xu.exe.config file with the xu.config file.
Create a Linked Service to Azure Batch in ADF #
Follow the steps below to create a Batch Linked Service and a Storage Linked Service in Azure Data Factory:
- In ADF, navigate to Manage > Connections > Linked Services and click [New] (1). The menu “New linked service” opens.
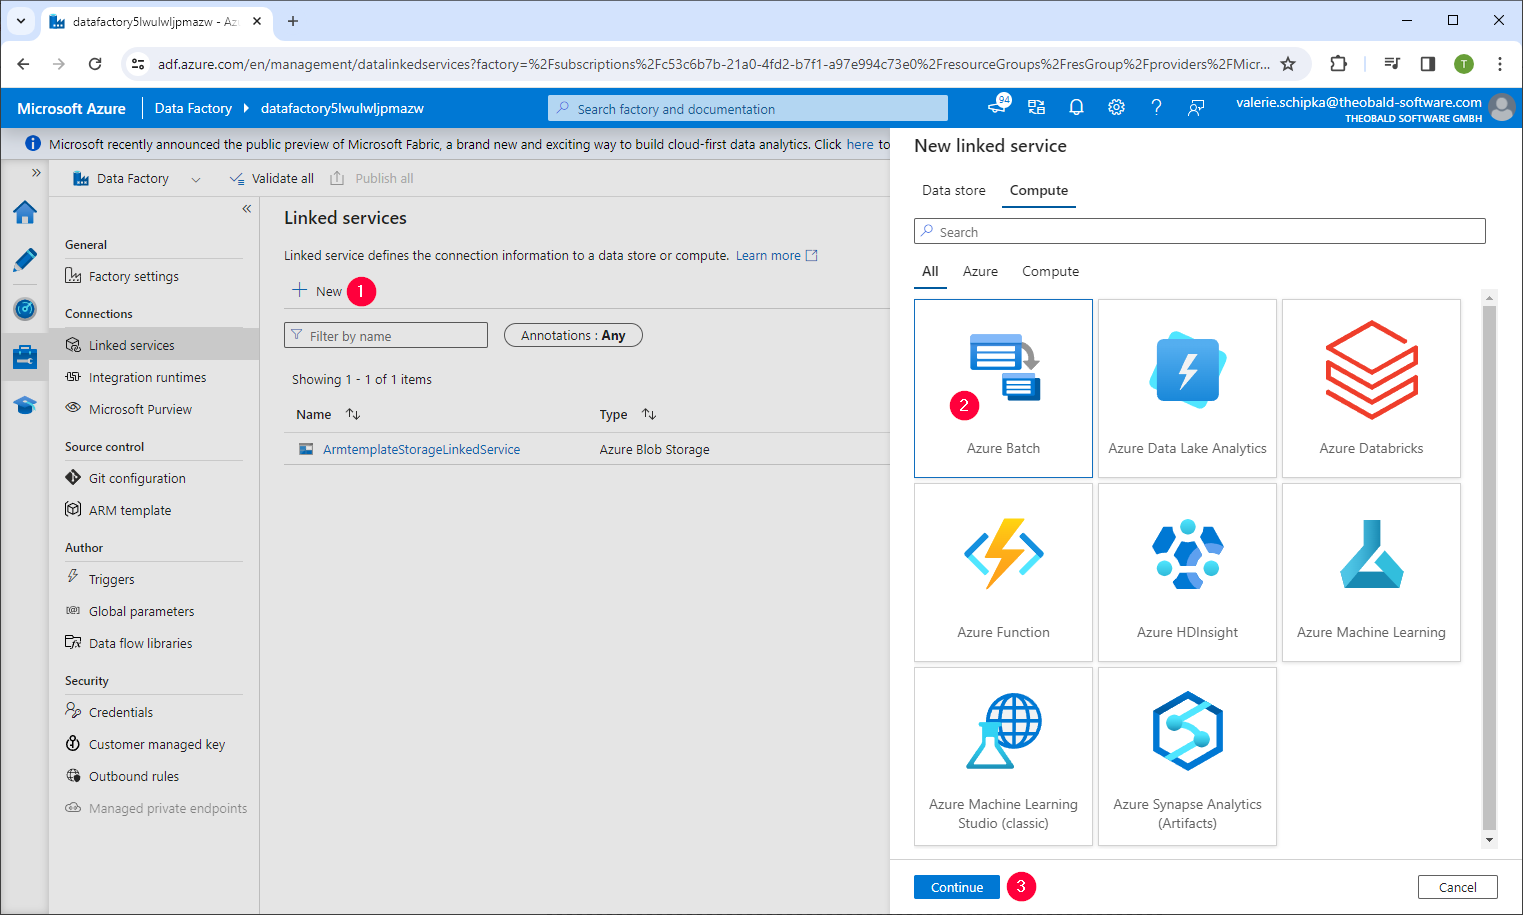
- In the tab Compute category, select Azure Batch (2) and click [Continue] (3).
- Specify the Batch Account, Access Key, Batch URL and Pool name of the batch account. The data is available in the key settings of the batch account.
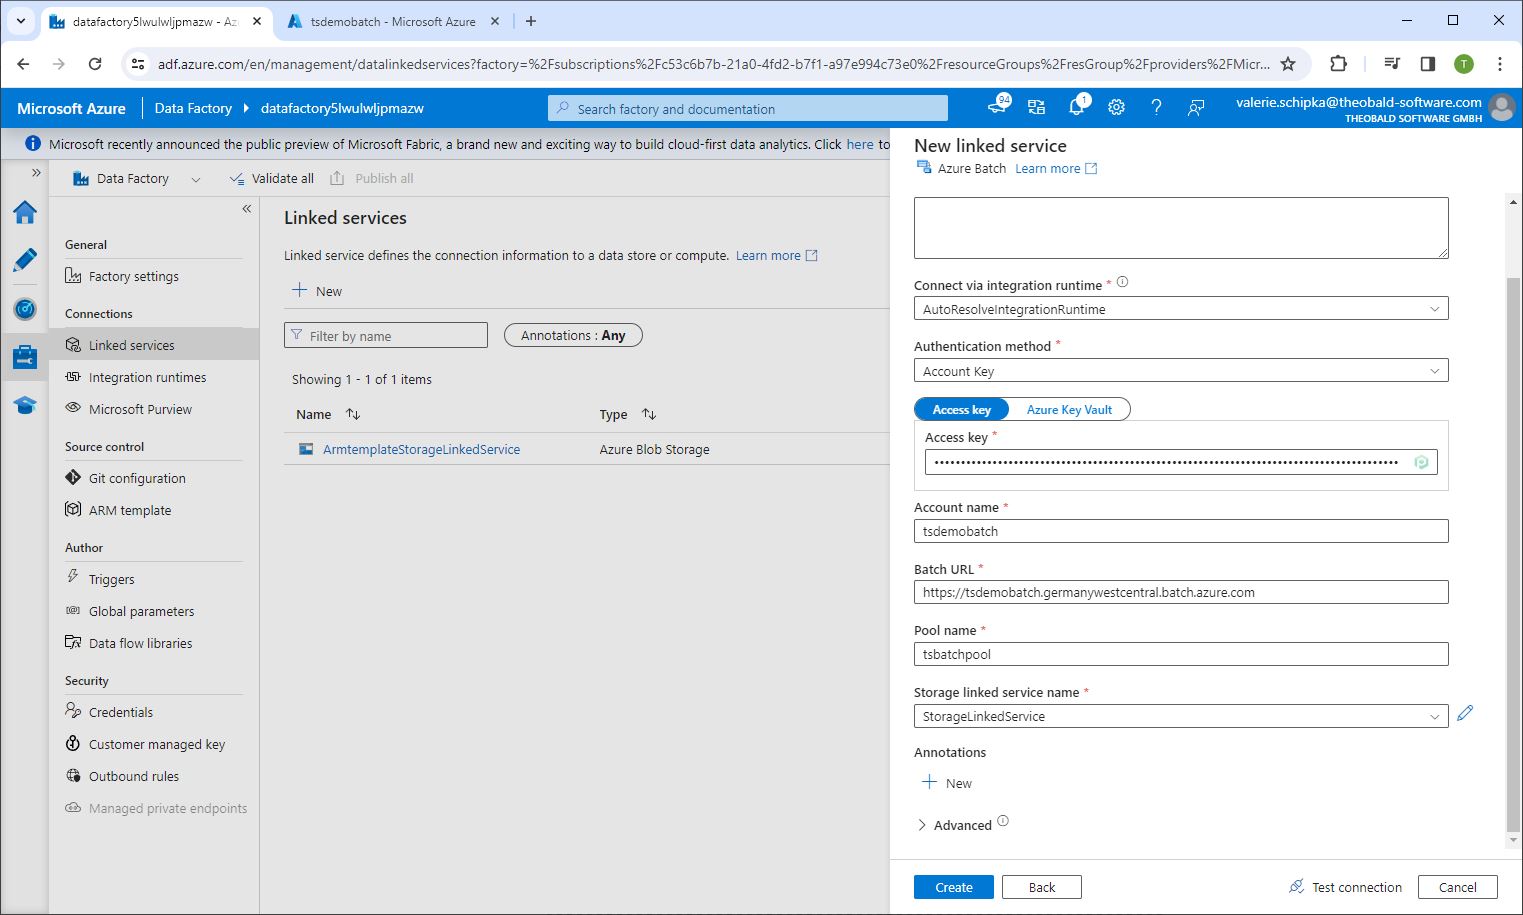
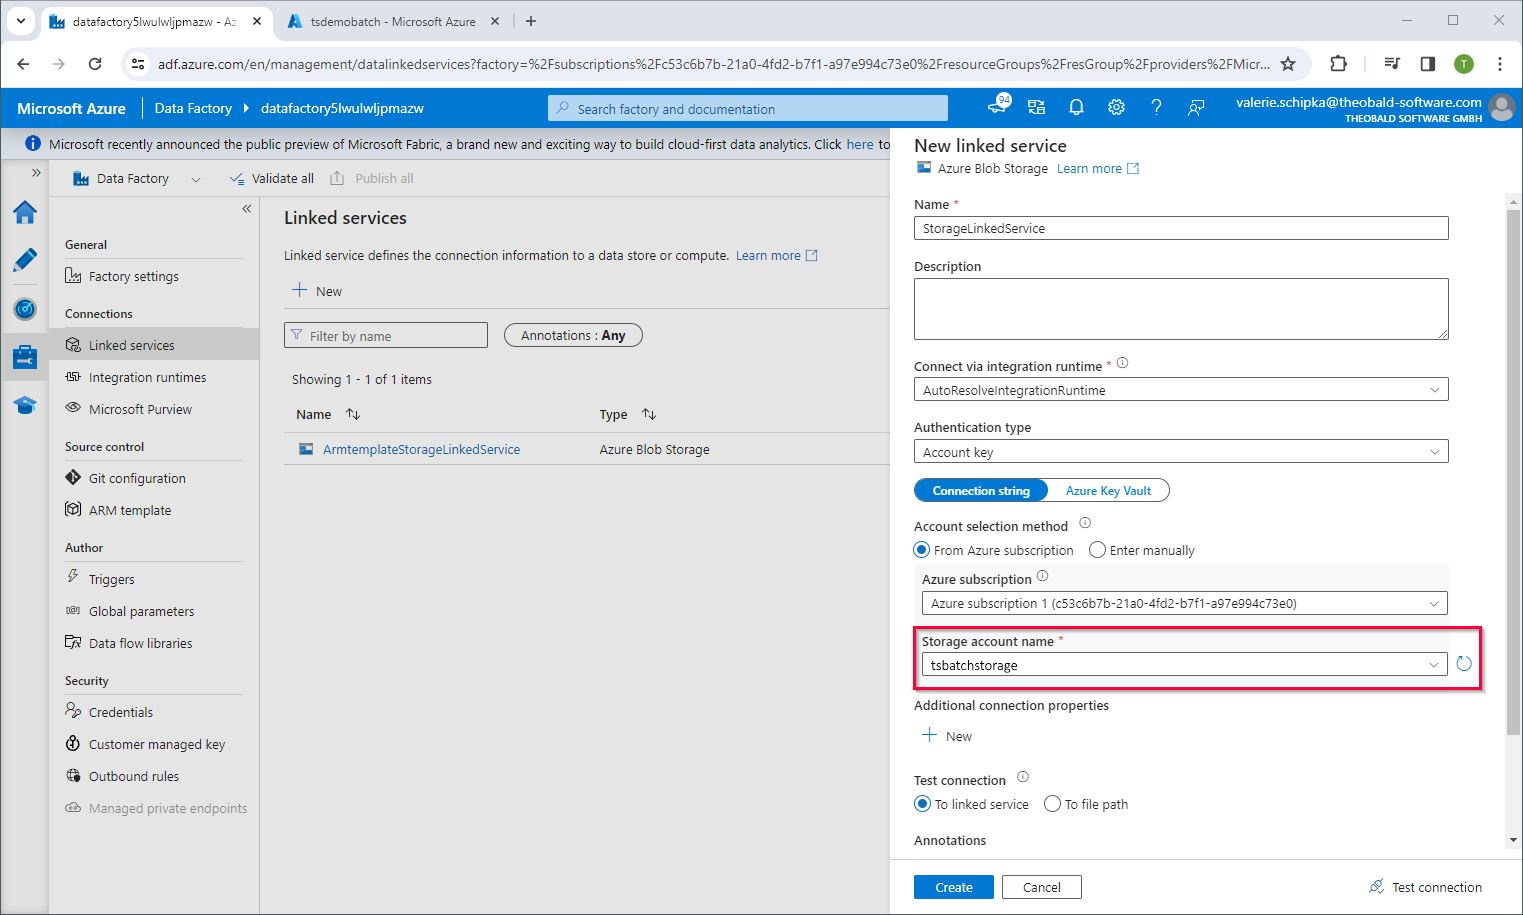
- In Storage linked service name, select New to create a new linked service that references the storage account that contains the xu.exe file in the linked service.
Create an ADF Pipeline with Custom Activity #
Follow the steps below to create a pipeline that runs extractions:
- Create a new Pipeline in ADF.
- Drag the Custom Activity under Batch Service into your pipeline.
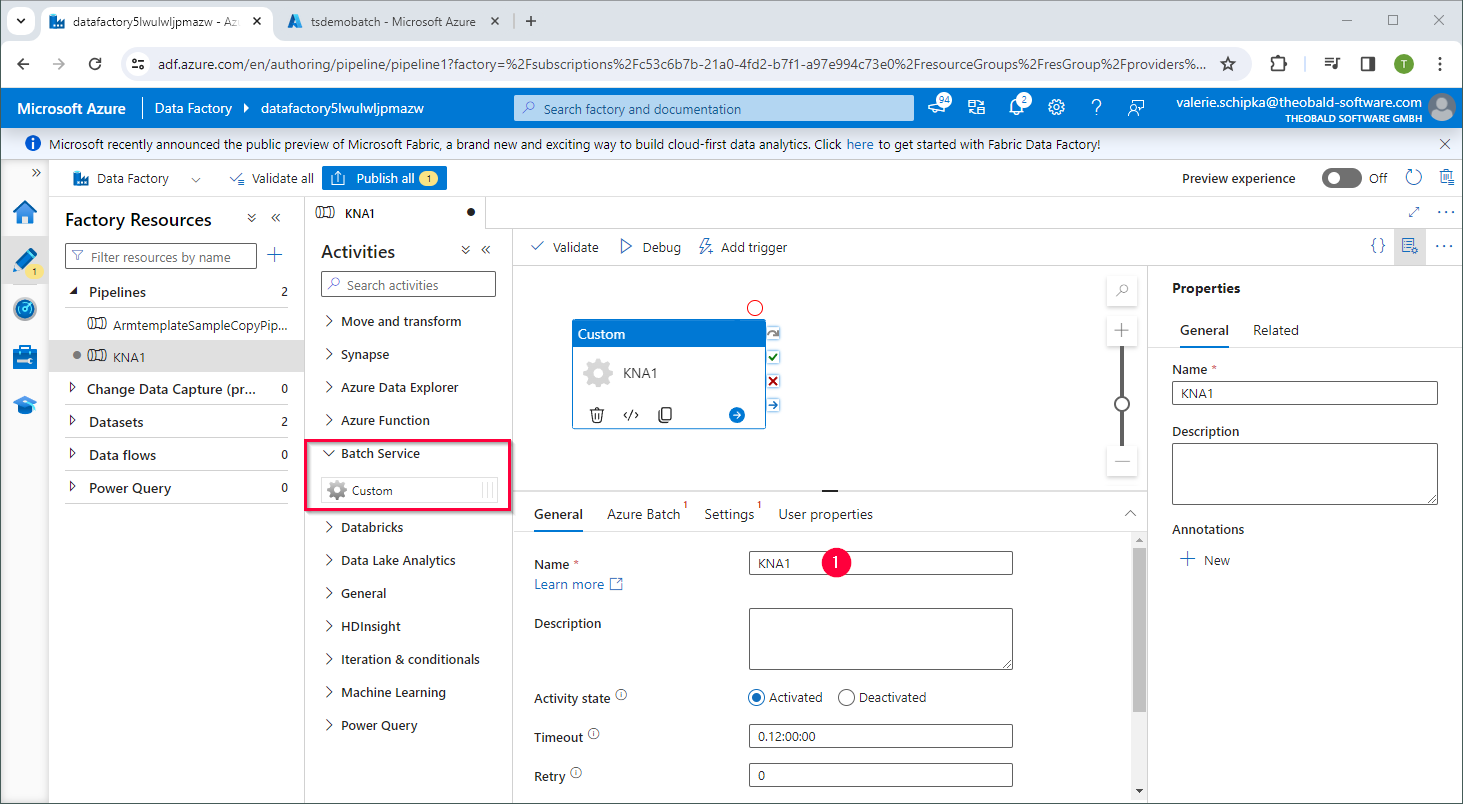
- In the General tab, provide a name for the activity, e.g., ‘KNA1’ (1).
- In the Azure Batch tab, reference the Batch Linked Service from Create a Linked Service to Azure Batch in ADF.
- In the Settings tab, specify the xu.exe command that you want to execute (2), e.g.,
xu.exe [protocol]://[host or IP address]:[port]/?name=[name of the extraction]to run an extraction.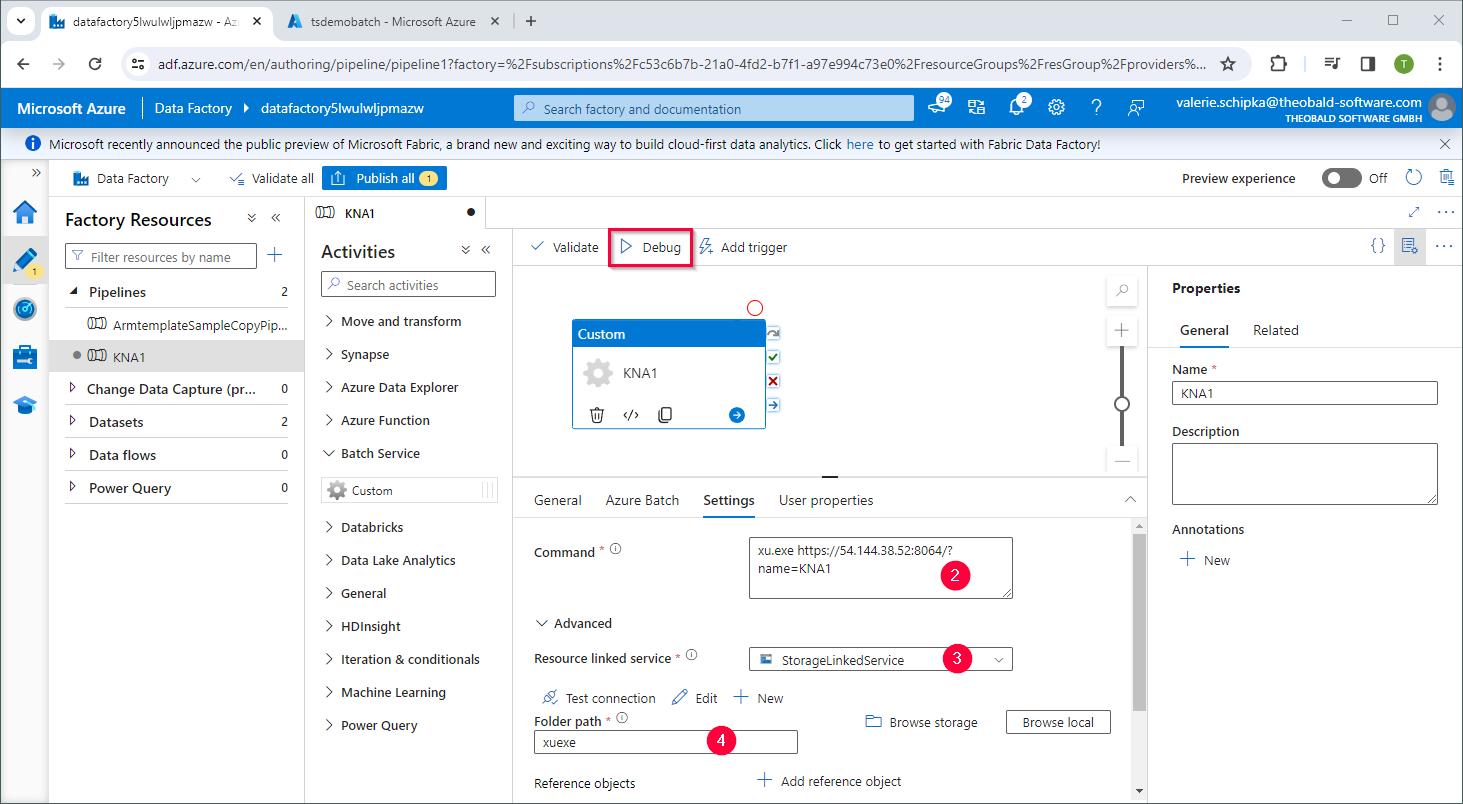
- Reference the Storage Linked Service from Create a Linked Service to Azure Batch in ADF in the Advanced Settings (3).
- Specify the container / folder path where the xu.exe file is located in the Azure storage account (4).
- Click [Debug] to testrun the SAP data extraction.
When the activity is finished, review the output of the activity in the Output tab.
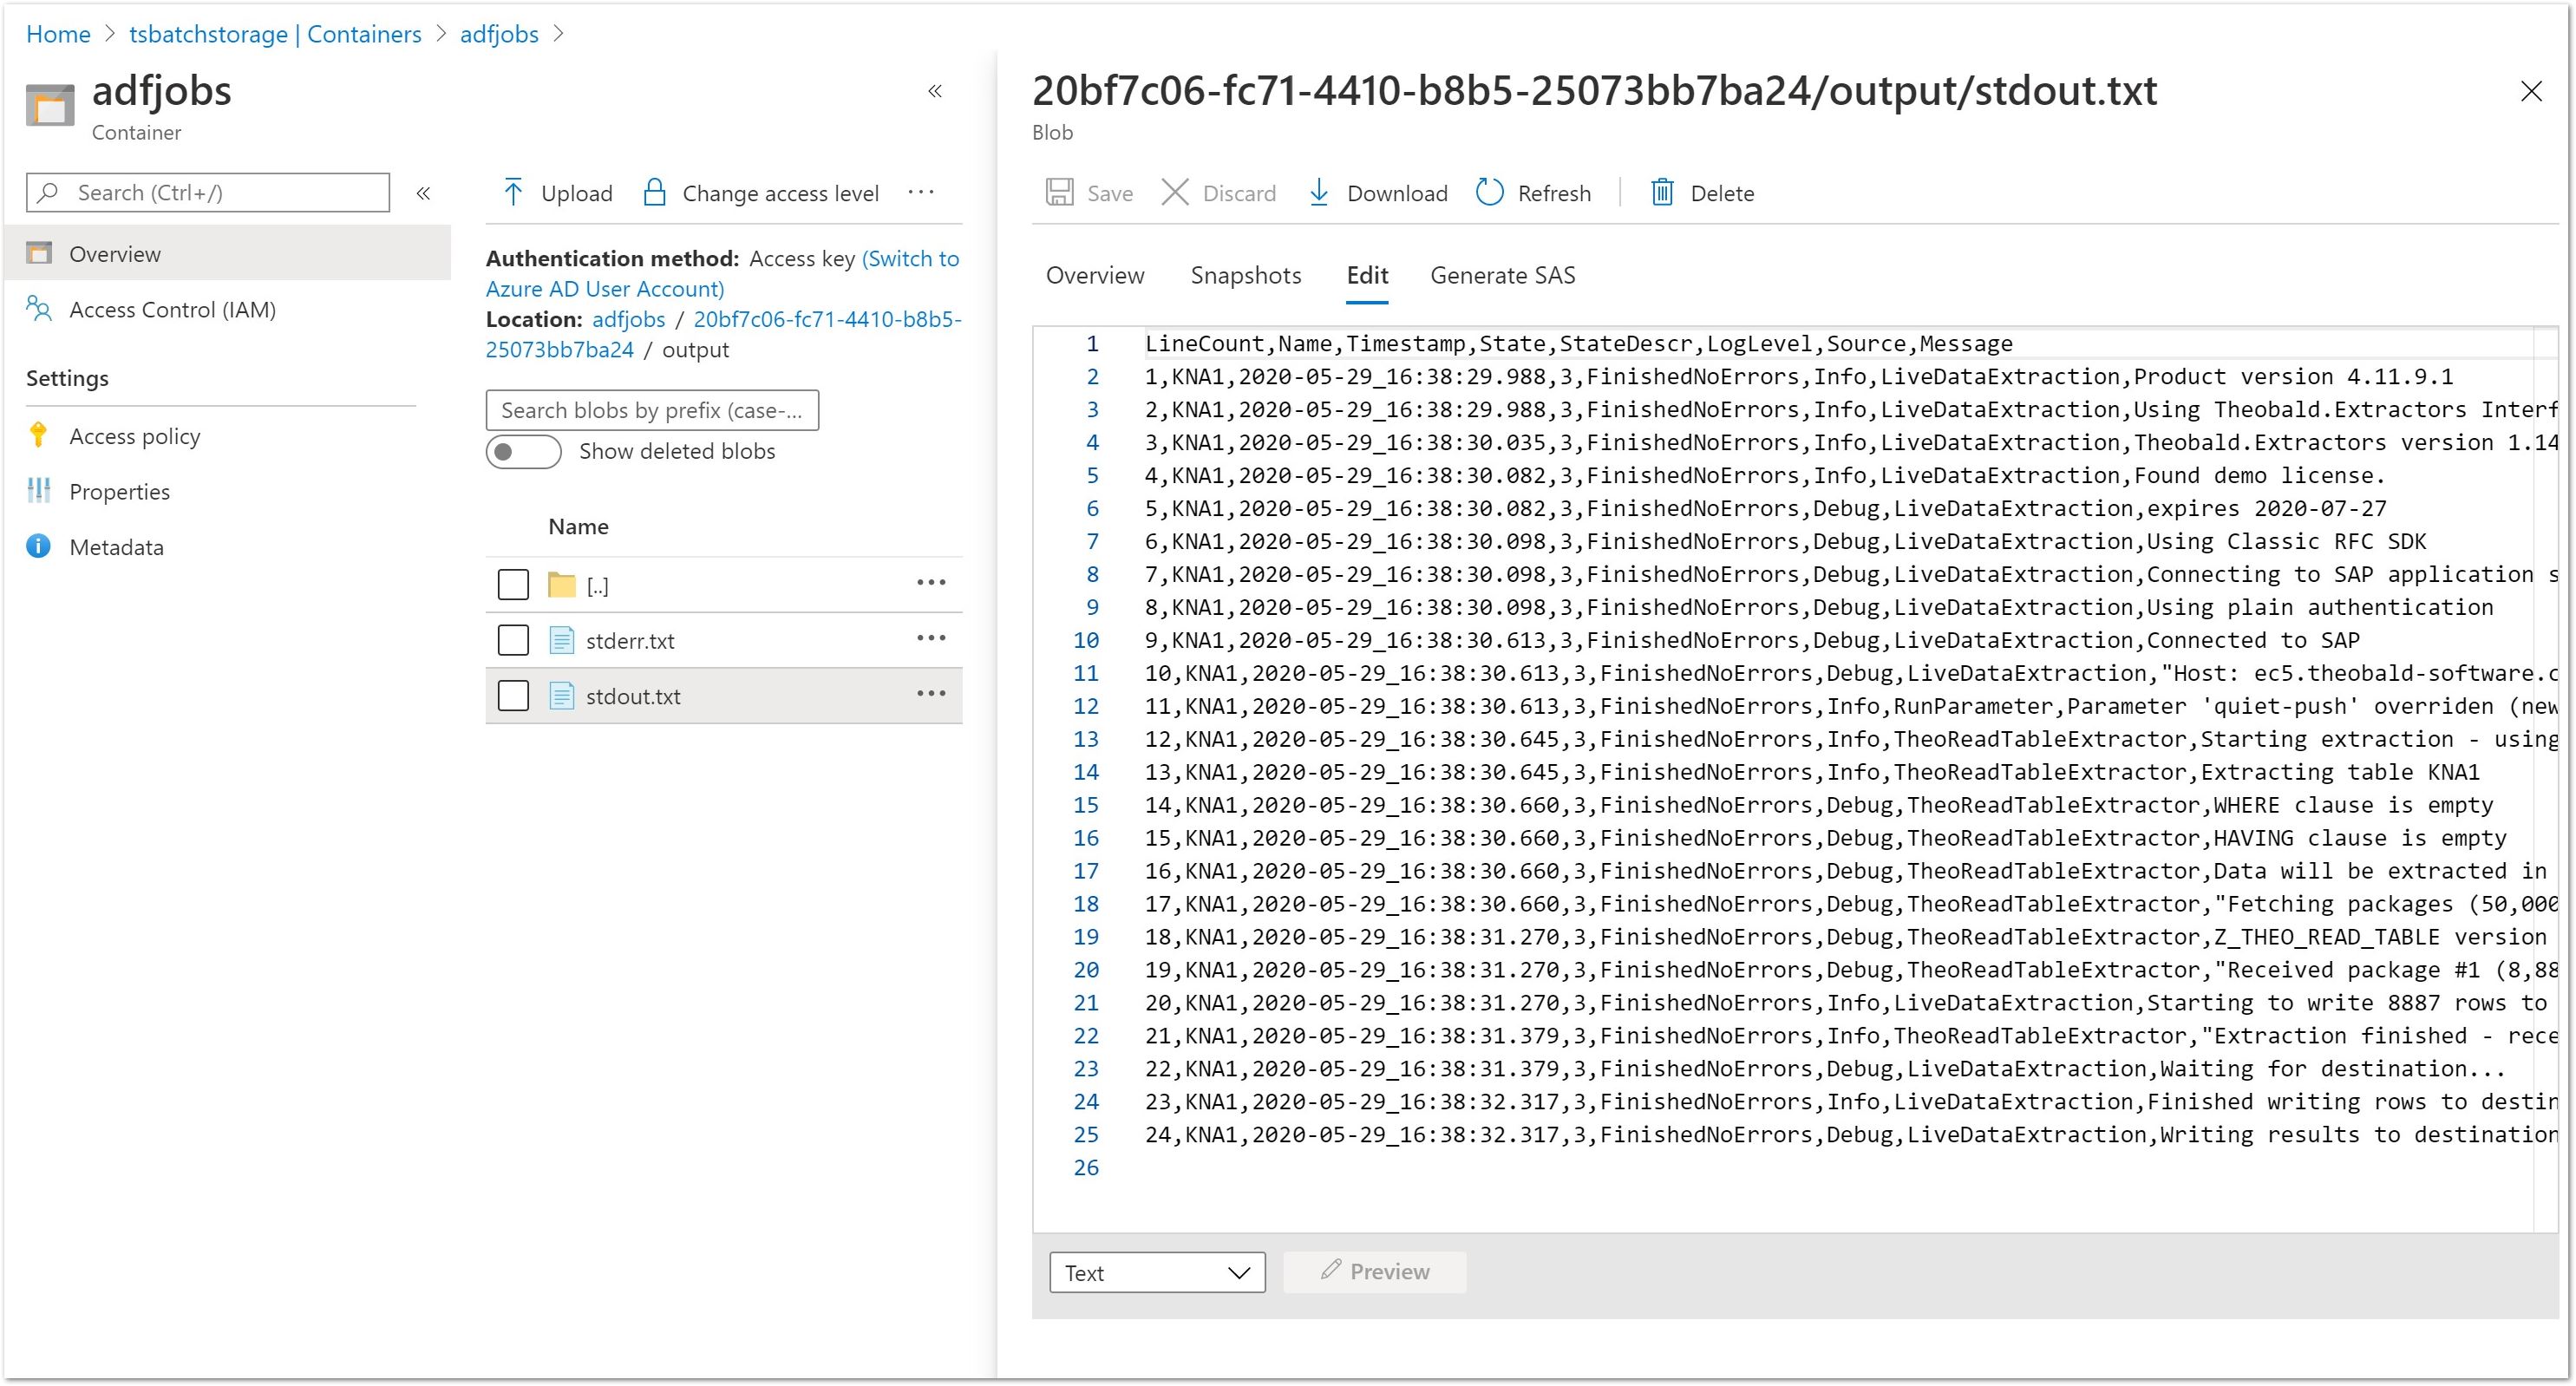
If the exitcode from xu.exe is 0, the data extraction was successful and the following folders / files are available in the Azure storage account:
- the storage account contains a folder adfjobs.
- for every pipeline execution, there is a subfolder with log information.
- the files stderr.txt and stdout.txt contain the output from xu.exe.
The pipeline can be run in debug mode or can be triggered via a scheduler.